Mini Gaming PC Build: Unleash Your Gaming Potential
Are you tired of bulky towers taking up half your gaming space? Well, it’s time to put those monsters in their place and embrace the compact revolution. Building a mini gaming PC not only saves space but also lets us craft a powerful rig that can handle all our pixel-popping demands. So, grab your favorite snack, and let’s jump into the tiny yet mighty world of mini gaming PCs.
Understanding Mini Gaming PCs
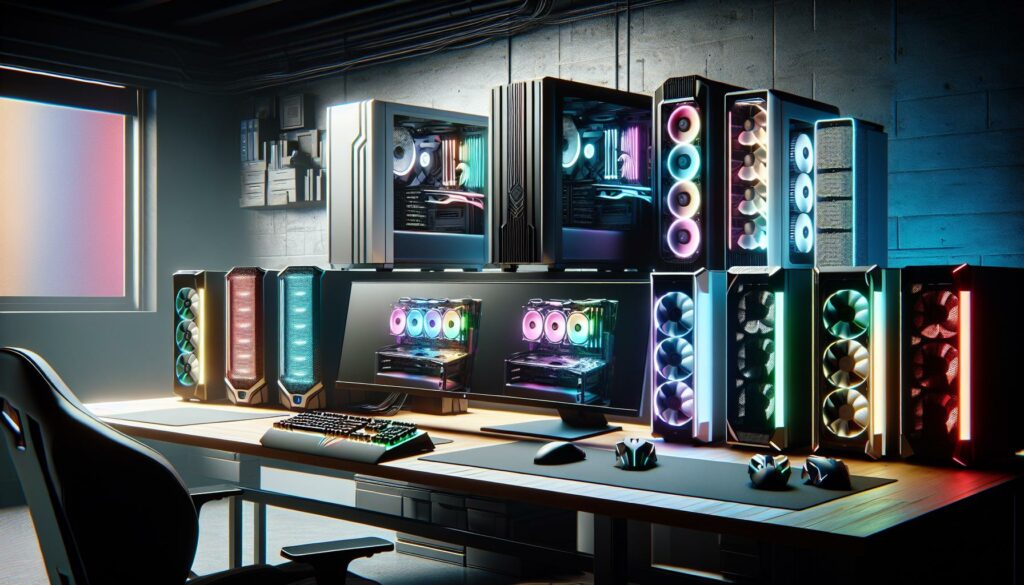
Mini gaming PCs are a marvel of modern engineering. They pack impressive power into small form factors, making them perfect for gamers with limited space. These small wonders typically use compact motherboards and innovative cooling solutions. The result? A sleek system that delivers high-quality graphics and smooth gameplay without the need for a massive case. Whether we’re playing the latest AAA titles or enjoying indie gems, mini gaming PCs can do it all without breaking a sweat.
Benefits of Building a Mini Gaming PC
Why should we even consider building a mini gaming PC? Here are a few compelling benefits that will make you want to grab your toolbox and get started:
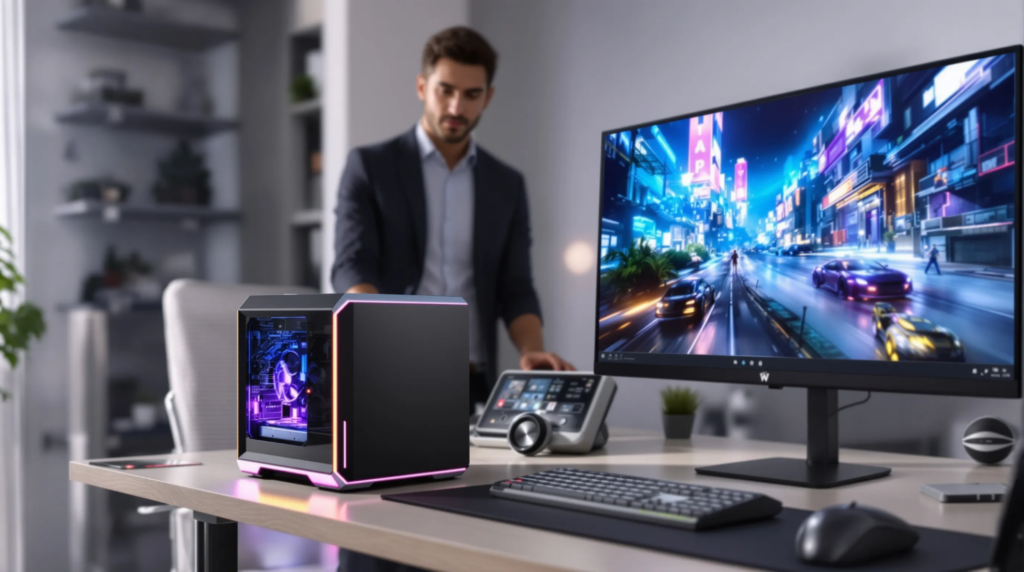
Space Efficiency: Mini PCs take up way less room than their traditional counterparts. If our gaming setup is tight on space, this is a game-changer.
Portability: Planning a gaming weekend? A mini PC is easy to transport. Just toss it in a backpack, and we’re ready to go.
Customization: Building our own means picking every component that suits our needs. Want RGB lights? We can have them. Prefer a quiet cooling system? It’s our call.
Cost-Effective: While we can go high-end, it’s also easy to find budget-friendly components that deliver solid performance.
Building a mini gaming PC offers us flexibility and power in a small package.
Choosing the Right Components
Now, let’s talk components. Choosing the right parts is crucial to ensure our mini gaming PC performs well without overheating or bottlenecking.
Case: Start with a case that’s compact but offers sufficient ventilation.
Motherboard: Look for mini-ITX or micro-ATX boards. They’re perfect for building a smaller PC.
CPU: Pick a powerful yet small processor. Ryzen and Intel have solid options that don’t overheat easily.
GPU: Here’s where it gets interesting. Some mini gaming PCs can hold powerful graphics cards, but be sure to check the case compatibility.
Cooling: A good cooling system is key in a compact build. Consider using low-profile coolers or efficient liquid cooling solutions.
Memory and Storage: 16GB of RAM is generally a sweet spot for gaming. Opt for an SSD for faster load times while keeping our hard drive for extra storage.
Choosing the right components means our mini gaming PC can run smoothly and keep our gaming experience top-notch.
Step-By-Step Guide to Building Your Mini Gaming PC
Ready to roll up our sleeves? Here’s a simple guide to building our mini gaming PC:
Prepare Your Workspace: Find a clean, static-free area. Gather all your tools, screwdrivers, zip ties, and patience.
Install the CPU: Begin by placing the CPU onto the motherboard following the manufacturer’s instructions.
Add RAM: Next, insert the RAM sticks into the designated slots on the motherboard.
Attach the Motherboard: Secure the motherboard into the case, ensuring all ports align with the back panel.
Install GPU: Carefully insert the graphic card into the appropriate PCIe slot.
Connect the Power Supply: Attach the power supply, making sure to connect it to the motherboard, GPU, and other peripherals.
Connect Cooling Solutions: Install any cooling components to ensure strong airflow.
Cable Management: Tidy up the cables. This not only helps with airflow but also makes future upgrades easier.
Boot Up: Finally, hit that power button and watch our new beast come to life.
Testing and Optimizing Performance
We’re almost there. Once our mini gaming PC is assembled, it’s time for testing and optimization:
Check BIOS Settings: Upon booting, enter the BIOS to ensure all components are recognized properly.
Install Drivers: Load the necessary drivers for our GPU, motherboard, and other hardware.
Benchmark Testing: Use benchmark software to test our system’s performance. This will help identify if everything runs as it should.
Temperature Monitoring: Keep an eye on the temperatures during intense gaming sessions. If they run too hot, we might need to adjust cooling or case placement.
Optimize Settings: Adjust our in-game graphics settings according to performance. Sometimes a little tweak makes a big difference in playability.
These steps help us ensure our mini gaming PC runs smoothly and efficiently.